Productivity
Calendar
Managing your Events
Introduction
The OneOffice Calendar app works similar to other calendar applications. You can sync your OneOffice calendars and events with.
When you first access the Calendar app, a default first calendar will be pre-generated for you.
Managing your calendars
There are 3 ways to create your calendar.
If you already have a calendar on another service, you can subscribe to the existing calendar to have OneOffice import all your events automatically.
Subscribe to a Calendar
You can subscribe to iCal calendars directly inside of your OneOffice. By supporting this interoperable standard (RFC 5545) we made OneOffice calendar compatible to Google Calendar, Apple iCloud and many other calendar-servers you can exchange your calendars with.
- Click on + New Subscription in the left sidebar.
- Type in the link of the shared calendar you want to subscribe to.
- Your calendar subscriptions will be updated regularly.
Create a new Calendar
- Click on + New Calendar in the left sidebar.
- Type in a name for your new calendar, e.g. “Work”, “Home” or “Studies”.
- After clicking on the checkmark, your new calendar is created and can be synced across your devices, filled with new events and shared with your friends and colleagues.
Import a Calendar as ICS
If you want to transfer your calendar and their respective events to your OneOffice instance, importing is the best way to do so.
- Export your calendar as an .ICS file
- Click on the settings-icon labeled with Settings & Import at the left-bottom
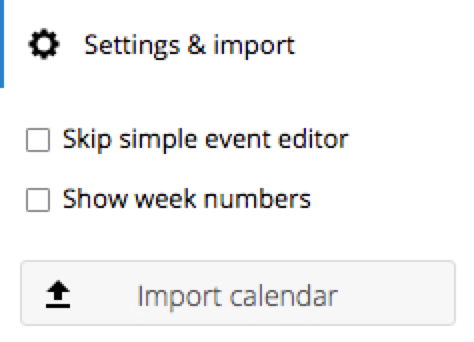
- After clicking on Import Calendar you can select one or more calendar files from your local device to upload.
The upload can take some time and depends on how big your calendar is.
Edit, Download or Delete a Calendar
Sometimes you may want to change the color or the entire name of a previous imported or created calendar. You may also want to export it to your local hard drive or delete it forever.
Please keep in mind that deleting a calendar is a irreversible action. After deletion, there is no way of restoring the calendar unless you have a local backup.
- Click on the three-dot-menu of the respective calendar.
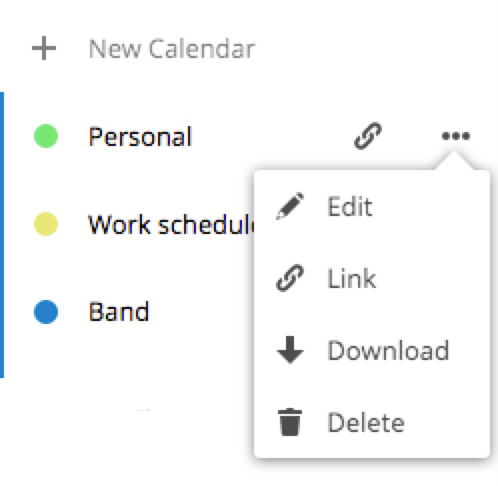
- Click on Edit, Download or Delete.
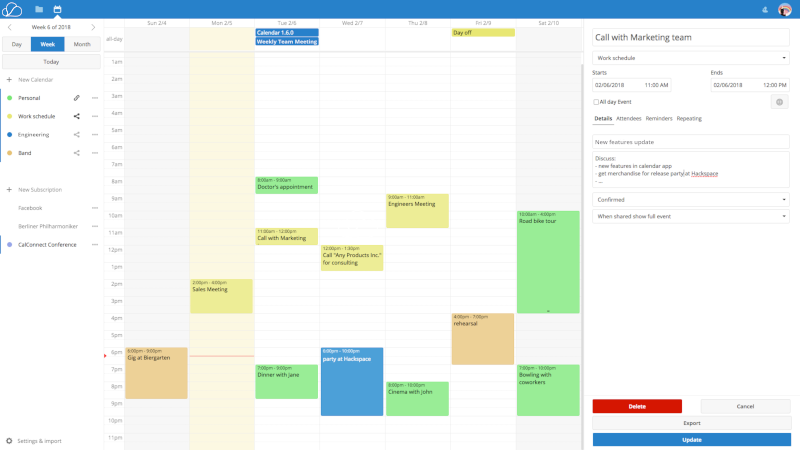
Managing Events
Create a new event
Events can be created by clicking in the area when the event is scheduled.
- In the day- and week-view of the calendar you just click and drag your cursor over the area when the event is taking place

- The month-view only requires a single click into the area of the specific day
- After that, you can type in the event name (e.g. Meeting with John), choose the calendar in which you want to choose the event (e.g. Personal, Work) check and configm the time span or set the event as all-day event.
If you want to edit advanced details such as the Location, a Description, Attendees, Reminders or to set the event as a repeating-event click on the More … button to open the advanced sidebar-editor.
- Clicking on the blue Create button will finally create the event.
Edit or Delete an event
If you want to edit or delete a specific event, you just need to click on it. After that you will be able to re-set all of the events details and open the advanced sidebar-editor by clicking on More…
Clicking on the blue Update button will update the event. Clicking on the Cancel button will not save your edits.
If you click on the red Delete button the event will be removed from your calendar.
Birthday calendar
The birthday calendar is a auto-generated calendar which will automatically fetch the birthdays from your contacts. The only way to edit this calendar is by filing your contacts with birthday dates. You can not directly edit this calendar from the calendar app.
Have questions?
Still have questions? Talk to support.
All content copyright OneOffice / ZeGenie Inc. -- Unauthorized use is prohibited.