Administration / Users
Users Panel
Managing users from the administration panel
1. Introduction
The Users Management panel allows you to:
- Create new users
- View all of your users in a single scrolling window
- Filter users by group
- See what groups they belong to
- Edit their full names and passwords
- See their data storage locations
- View and set quotas
- Create and edit their email addresses
- Send an automatic email notification to new users
- Disable and Enable users
- Delete them with a single click
2. Launching Users Interface
To launch the Users interface, click on your Avatar then Users
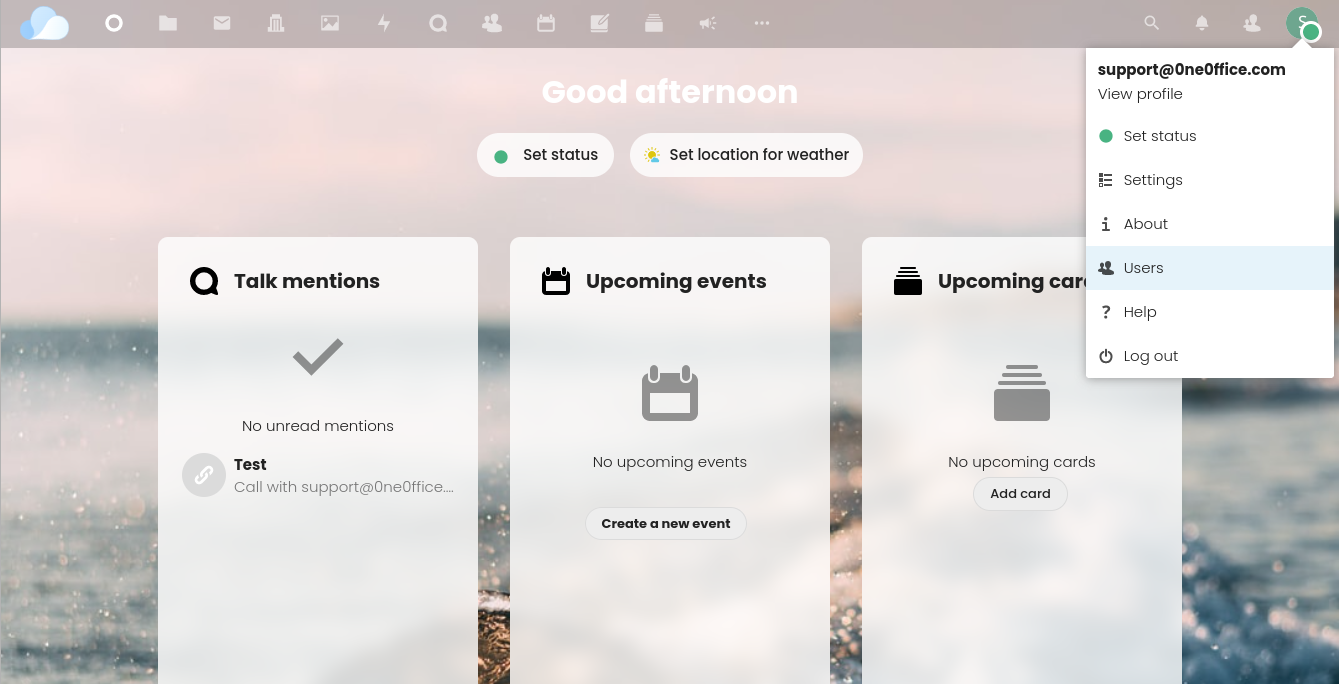
You will get a panel like this:
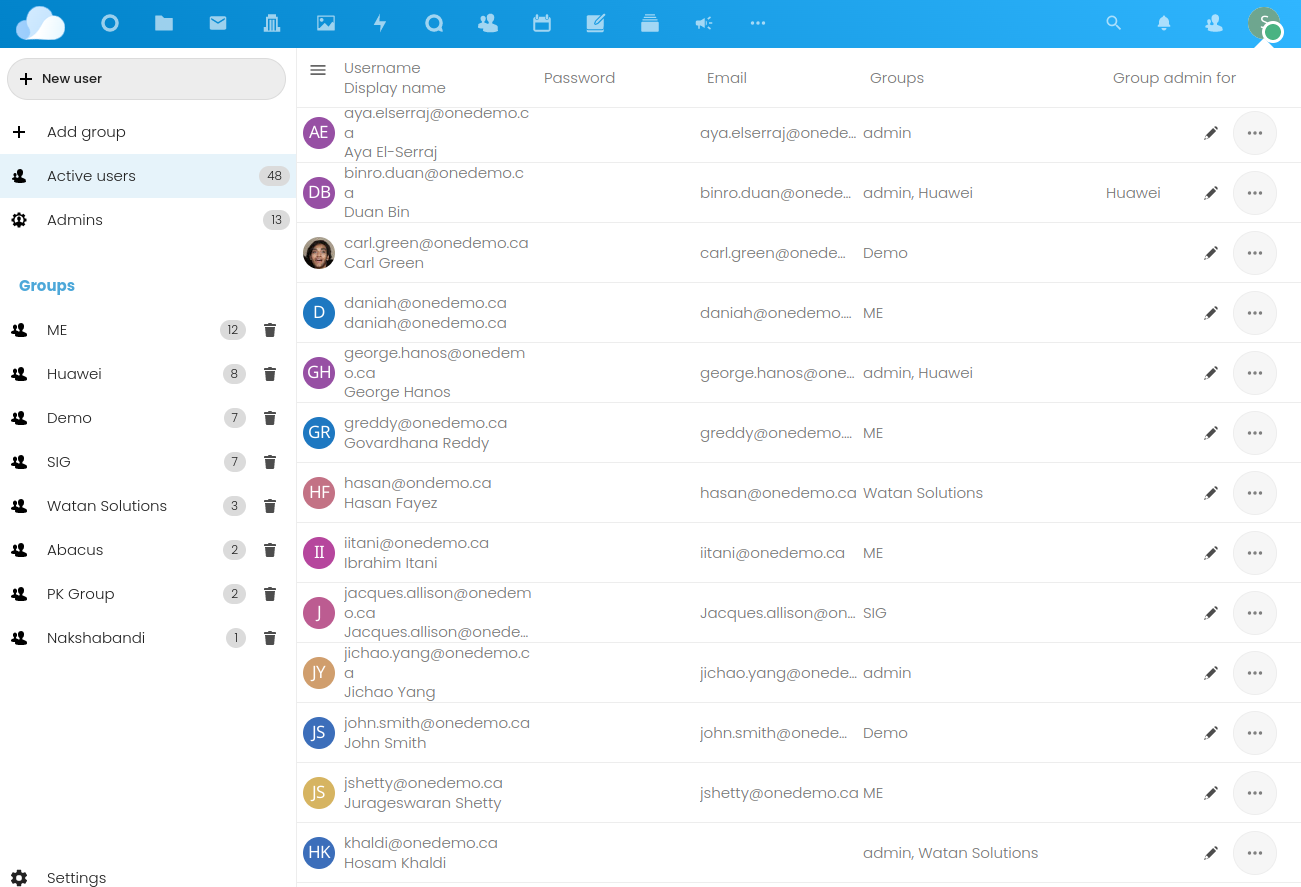
2.1 Groups
In the left panel, you will see quite a bit of information on groups
- You can Add a group
- Delete existing groups
- See group members
The Admins group is a reserved system group. All its members are system administrators. See section below on granting admin rights.
Select any group on the left to filter users by membership.
The Users Panel has two columns Groups and Group admin for to set membership and admins for any group.
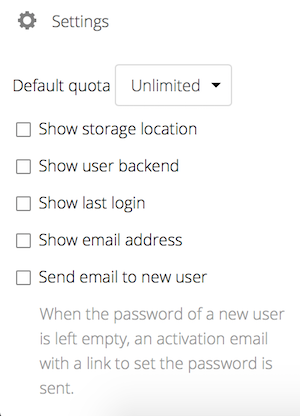
2.2 Settings
Click on the Settings button on the bottom right to configure some global settings. Such as quota, what columns to view etc.
3. Create a New User
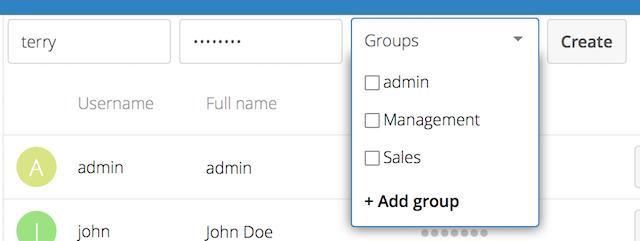
Adding a user is a breeze. Click on the + New User button.
You can give your new user any login you want. However, they will only get an email account if the domain is one that is registered with us.
4. Reset Password
You cannot recover a user’s password as it is hashed in the system, but you can set a new one:
- Hover your cursor over the user’s Password field
- Click on the pencil icon
- Enter the user’s new password in the password field, and remember to provide the user with their password as they are now locked out of their account
5. Rename User
Each OneOffice user has two names: a unique Login Name / Email used for authentication, and a Full Name, which is their display name.
You can edit the display name of a user, but you cannot change the login name of any user as this is their global identifier in the system.
To set or change a user’s display name:
- Hover your cursor over the user’s Full Name field
- Click on the Pencil icon
- Enter the user’s new display name
6. Admin Rights
Designed to be simple, OneOffice has two types of administrators: Super Administrators and Group Administrators.
Group administrators have the rights to create, edit and delete users in their assigned groups.
Group administrators cannot access system settings, or add or modify users in the groups that they are not Group Administrators for. Use the dropdown menus in the Group Admin column to assign group admin privileges.

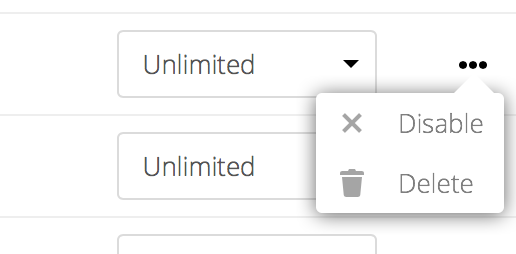
7. Disable & Enable Users
Click on the user’s ”…”-menu icon, you will see the Disable option.
The user will not longer be able to access their OneOffice until you enable them again. Keep in mind that files shared by this user will not longer be accessible.
You will find all disabled users in the disabled-section on the left pane. To re-enable user, click on the “…”-menu, and select Enable.
8. Delete Users
You can also delete users from this popup. Just be carefuly, as going back is very difficult.
Caution: All files, even shared, will be deleted. Check out the sharing administration to have persistent shares.
Have questions?
Still have questions? Talk to support.
All content copyright OneOffice / ZeGenie Inc. -- Unauthorized use is prohibited.