
Google Mail
Migrating your Google Mail to OneOffice
Introduction
Google provides a number of APIs that we can access to pull your uesrs' email, calendar and contacts over.
1. Creating Access
-
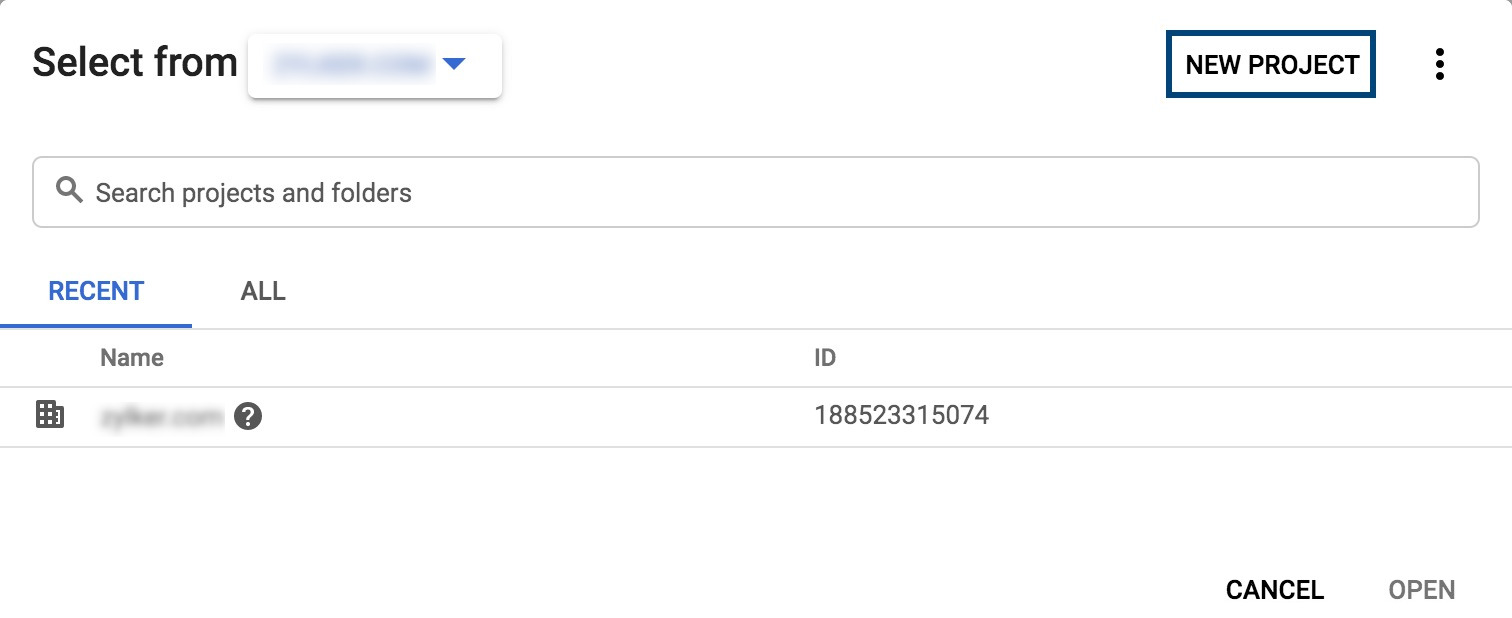
Log in to the Google Developers Console with your admin credentials.
-
Click on the dropdown next to your organization's name from the top of the window, and select New Project.
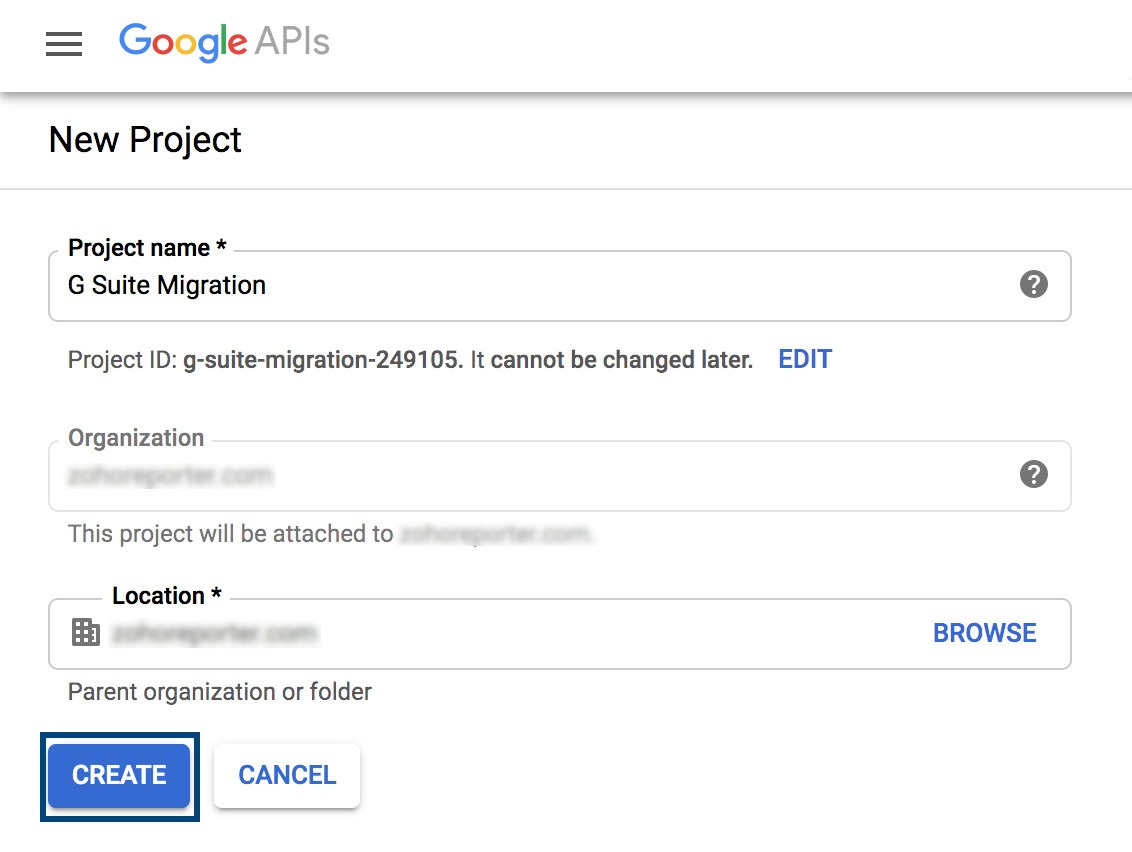
- Enter a name for your project in the Project Name field and click Create.
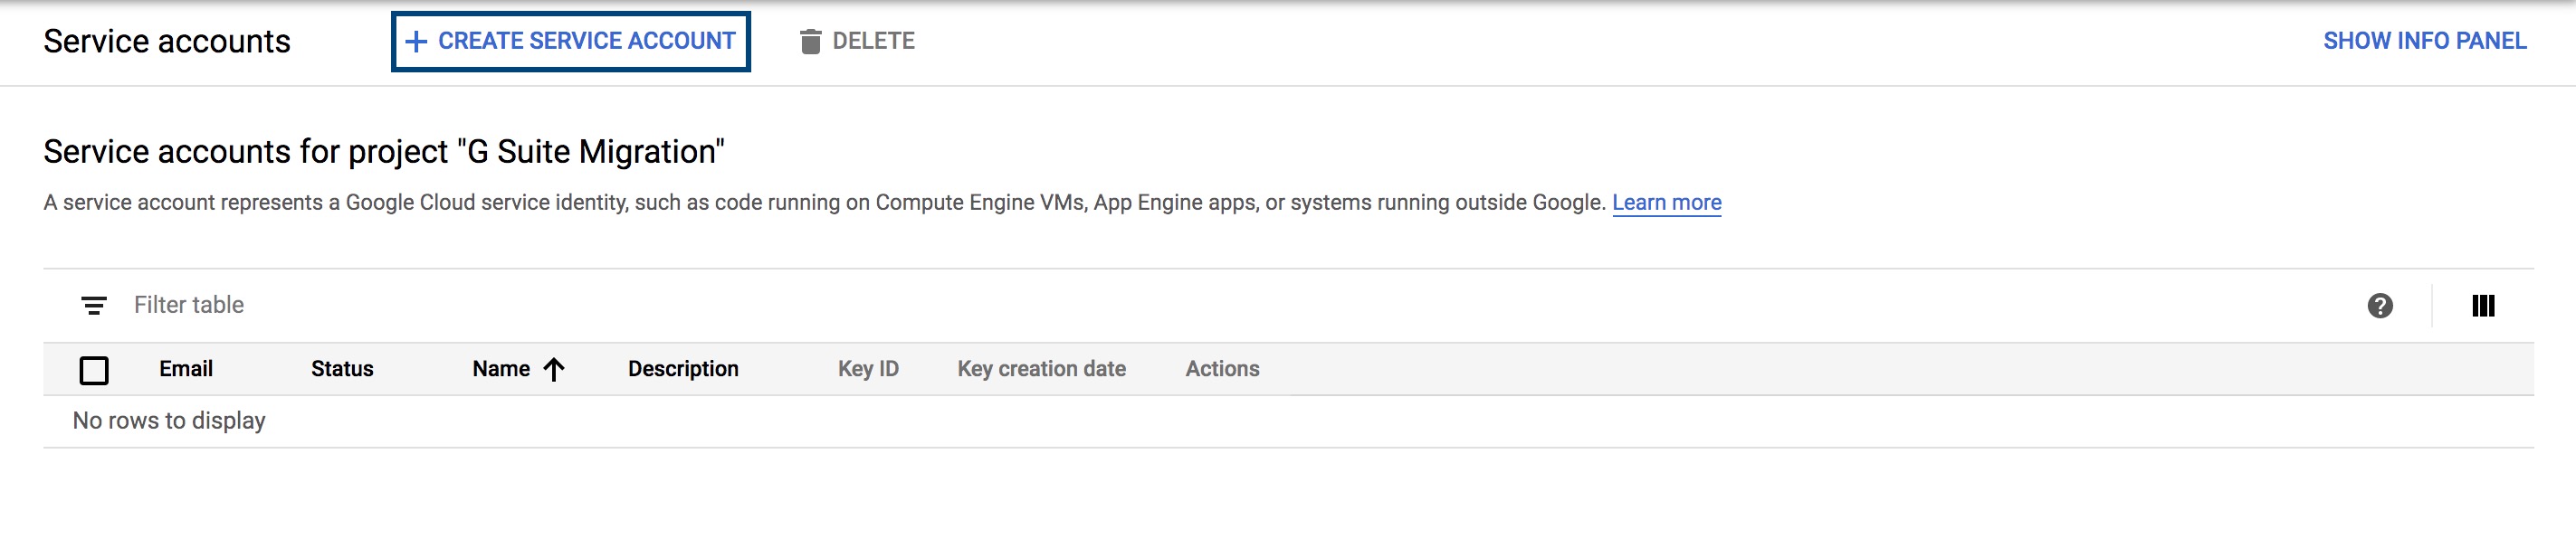
- Select the Create Service Account option.
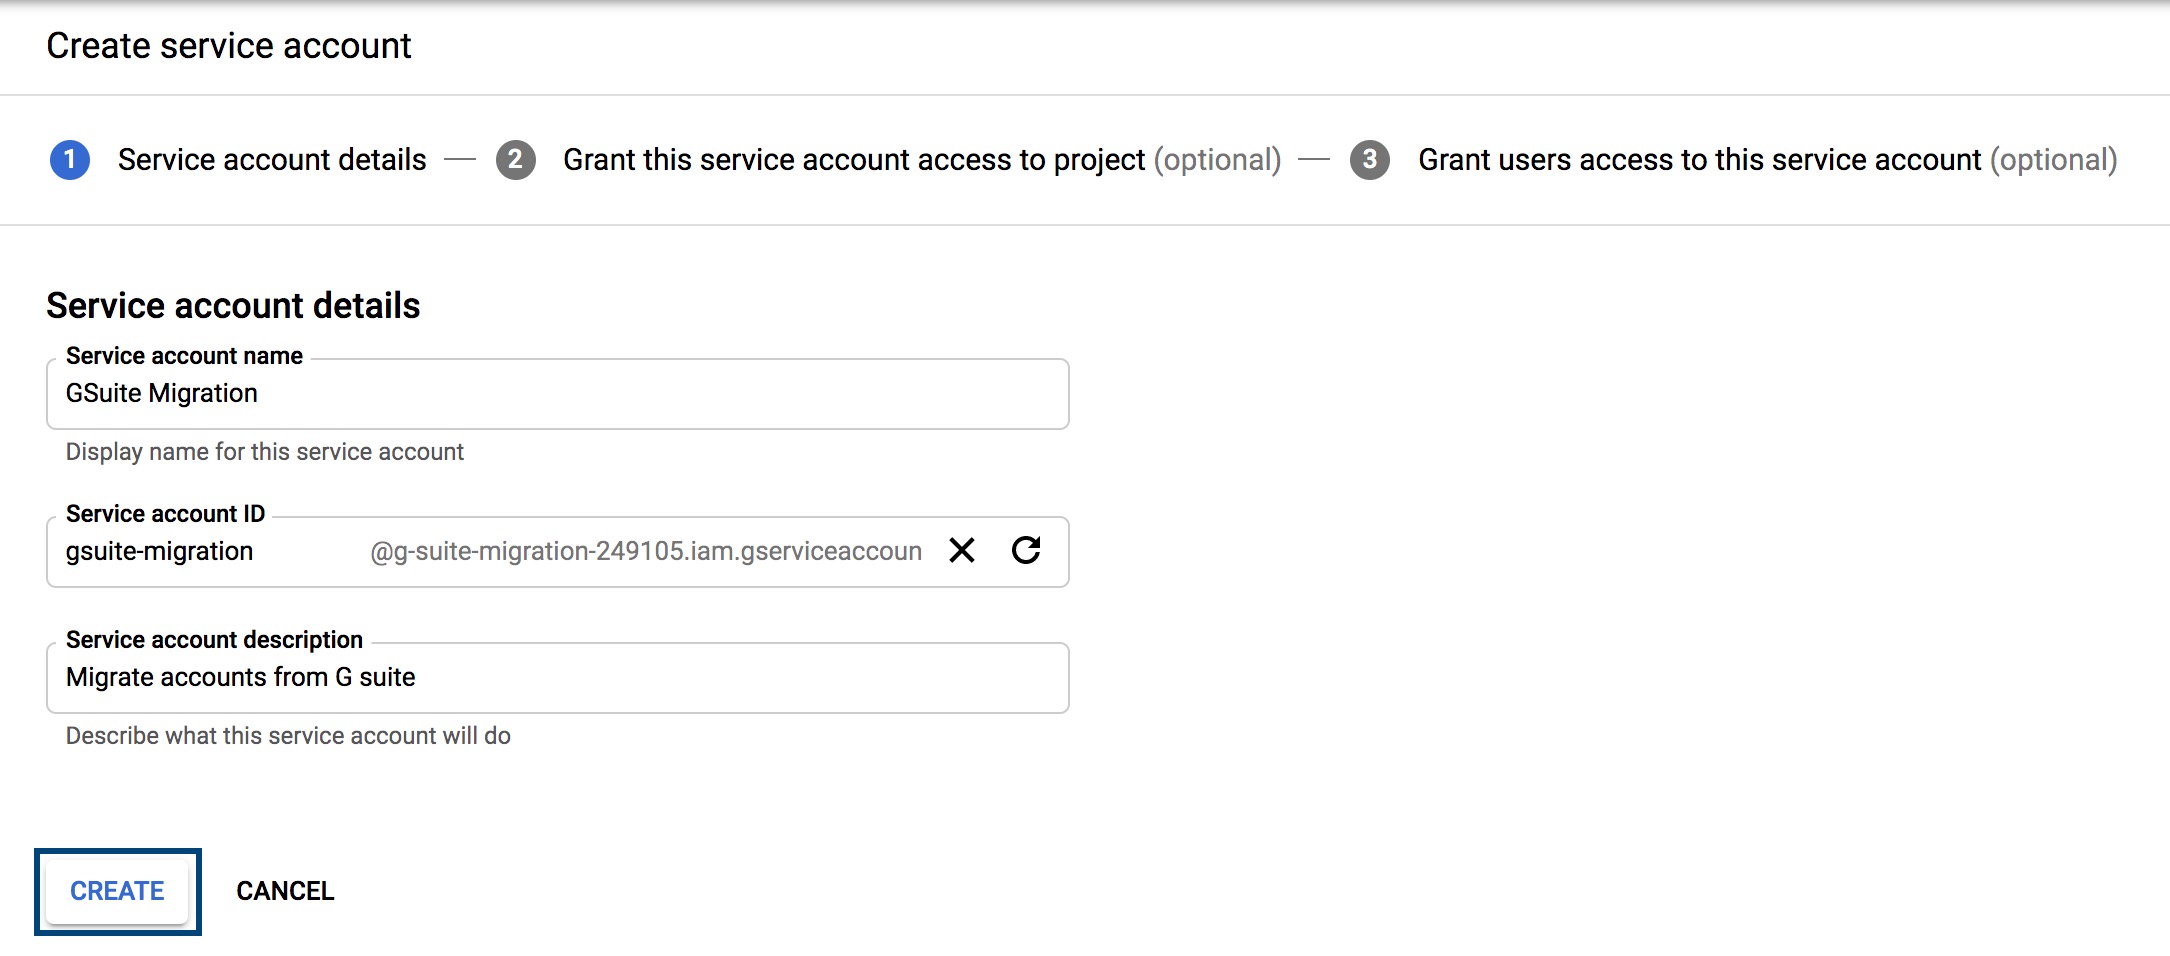
- Enter a service name in the Service account name field, and a description for the service in the Service account description field, and click Create.
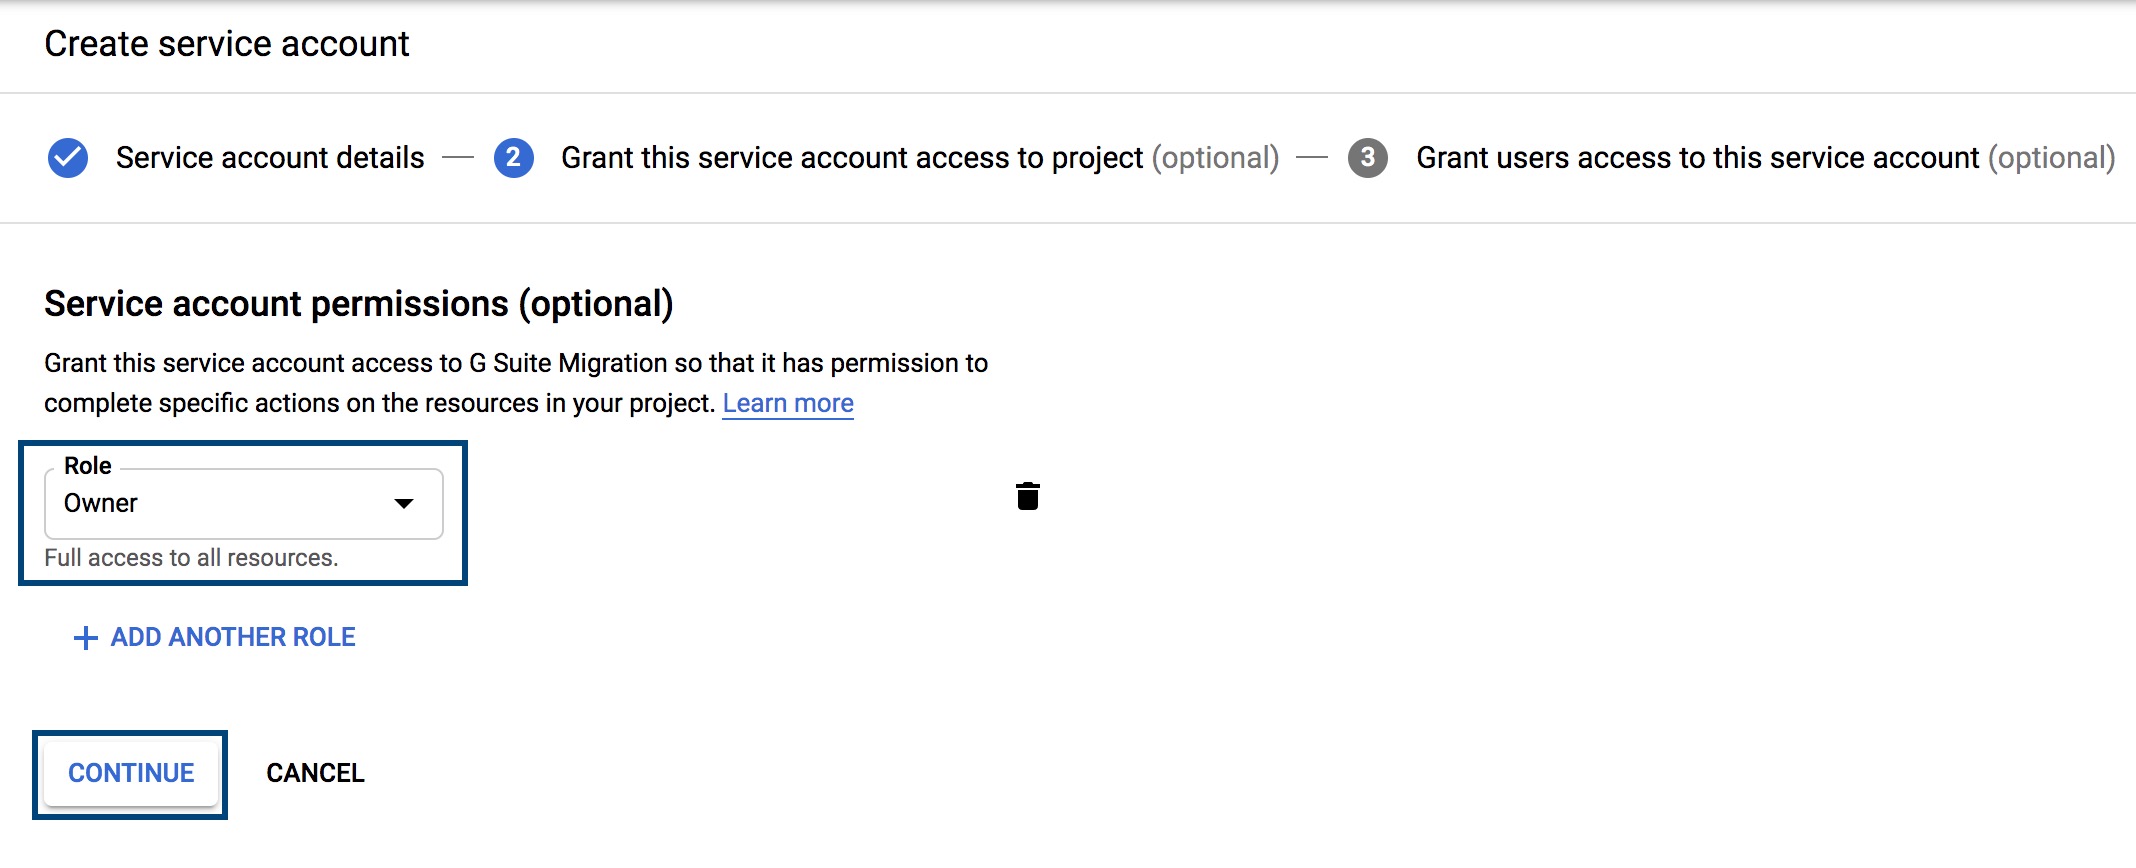
- In the next step, select the role that you want to assign to this service account. In the Role field, select Project > Owner, and click Continue.
-
If you'd like to assign roles to users and admins, enter the relevant data and click Done.
-
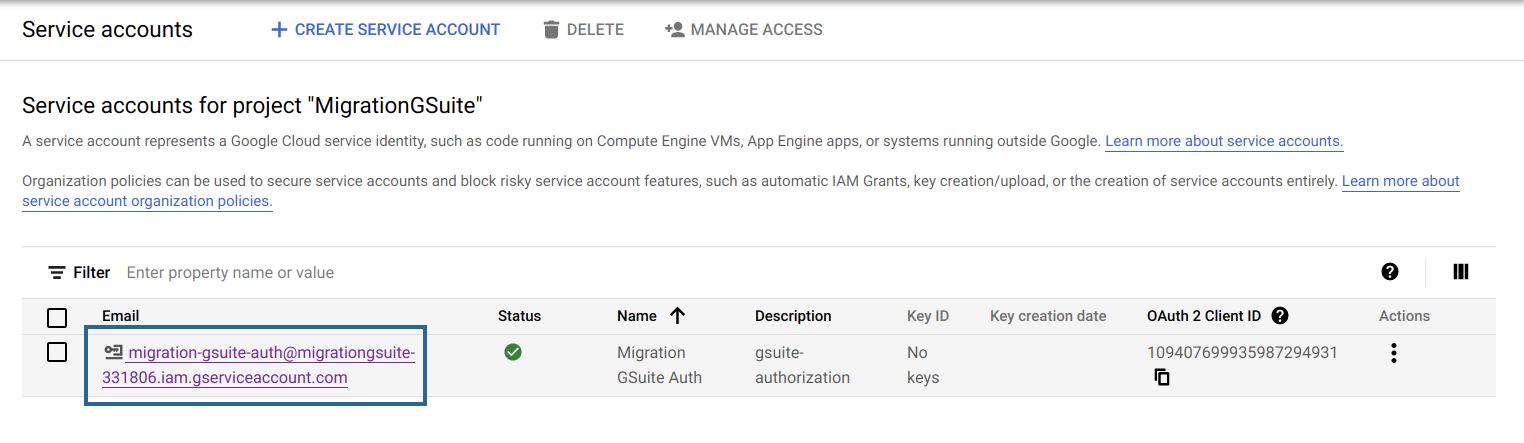
Click the email address under the Email field. This will be the Service account email address. Make sure that you note this down, as you will need to provide it for the migration.
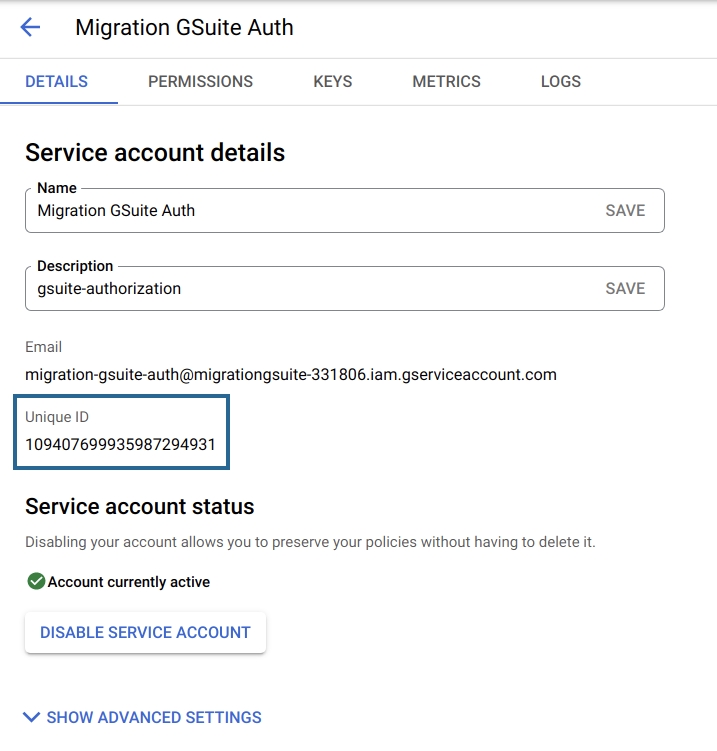
- The value generated in the Unique ID field is the Client ID. Please make note of this value as you will need it for later use during the authorization process.
- Now, navigate to the Keys tab, click Add Key, and select the Create New Key option.
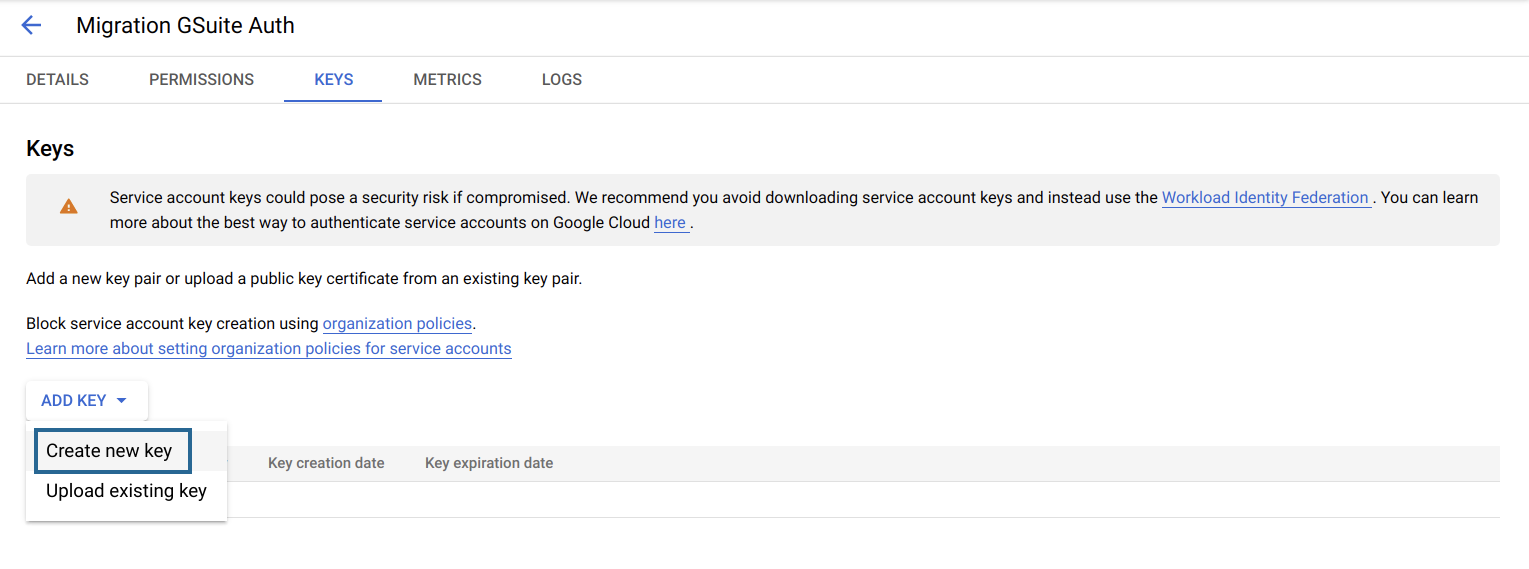
- Select P12 and click Create.
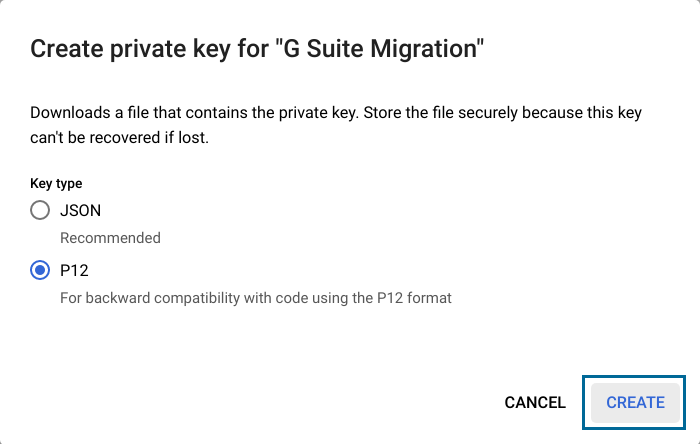
- Once you've created the key, you will notice that a file was downloaded onto your system. Please make sure that you save a copy of this file for later use during the migration.
2. Enabling APIs
We make API calls to Google's servers to request the data on your behalf. But Google does not by default enable all API's, you have to explicitely tell Google which ones you want activated (otherwise Google would make your life easy, right?).
- Log in to the Google API Library.
- Locate the Gmail API and click Enable.
- Locate the Google Calendar API and click Enable.
- Locate the Contacts API and click Enable.
- Locate the CalDAV API and click Enable.
- Locate the Admin SDK and click Enable.
- Locate the Google People API and click Enable.
3. Granting Access to API
Yes, this is confusing.
So you enabled the APIs in the step above (not sure why you need to, but some engineer at Google with plenty of free time on their hands decided this was a good thing to do).
Now you have to allow access to the APIs.
- Login to your Google Workspace Admin account.
- Go to the Security menu, and select API Controls.
- Under Domain-wide delegation, click MANAGE DOMAIN-WIDE DELEGATION.
- On this page, click Add New.
- In the Client ID field, enter the Client ID that was generated in Step #1
- Copy the following values and paste them in the One or more API scopes field, and click Authorize.
https://www.google.com/m8/feeds/contacts/default/full,
https://www.google.com/m8/feeds,
https://www.googleapis.com/auth/gmail.readonly,
https://www.google.com/m8/feeds/groups/default/full,
https://www.googleapis.com/auth/admin.directory.user.readonly,
https://www.googleapis.com/auth/admin.directory.domain.readonly,
https://www.googleapis.com/auth/admin.directory.group.member.readonly,
https://www.googleapis.com/auth/admin.directory.group.readonly,
https://www.googleapis.com/auth/calendar,
https://www.googleapis.com/auth/admin.directory.resource.calendar
4. Information to Provide Us
- The Super Admin email address of your Google Workspace organization account
- The Service account email address
- The Private key (p12) file